Home
Tidy Towns
History
Gallery
Awards
Entente Florale
Upcoming Events
Constitution
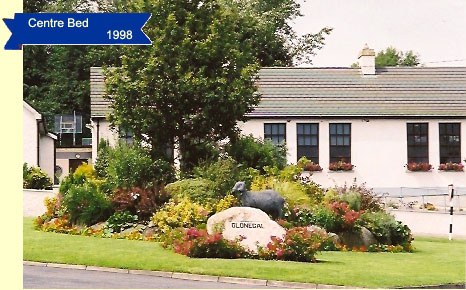
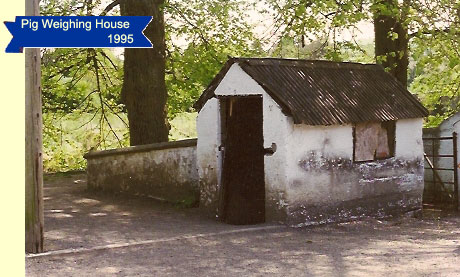
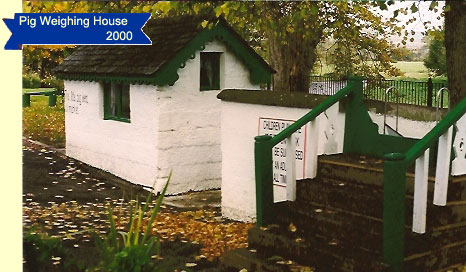
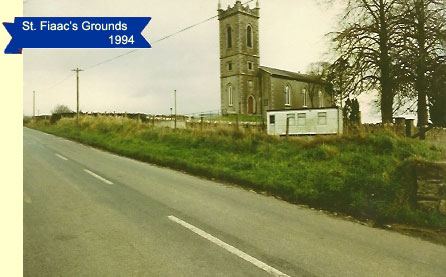
Gallery
(page 2)
Photos courtesy of Margaret Grant